Who should read this article: Administrators
Manage the list of IP addresses from which users may log into your contact center.
Introduction
To enhance security and control access to your contact center, Voiso allows you to define a list of approved host and subnet IP addresses. When you enable the Restrict access to specific hosts/subnets option in the Security tab of the System Settings page, only devices and SIP endpoints with listed IP addresses can access your contact center.
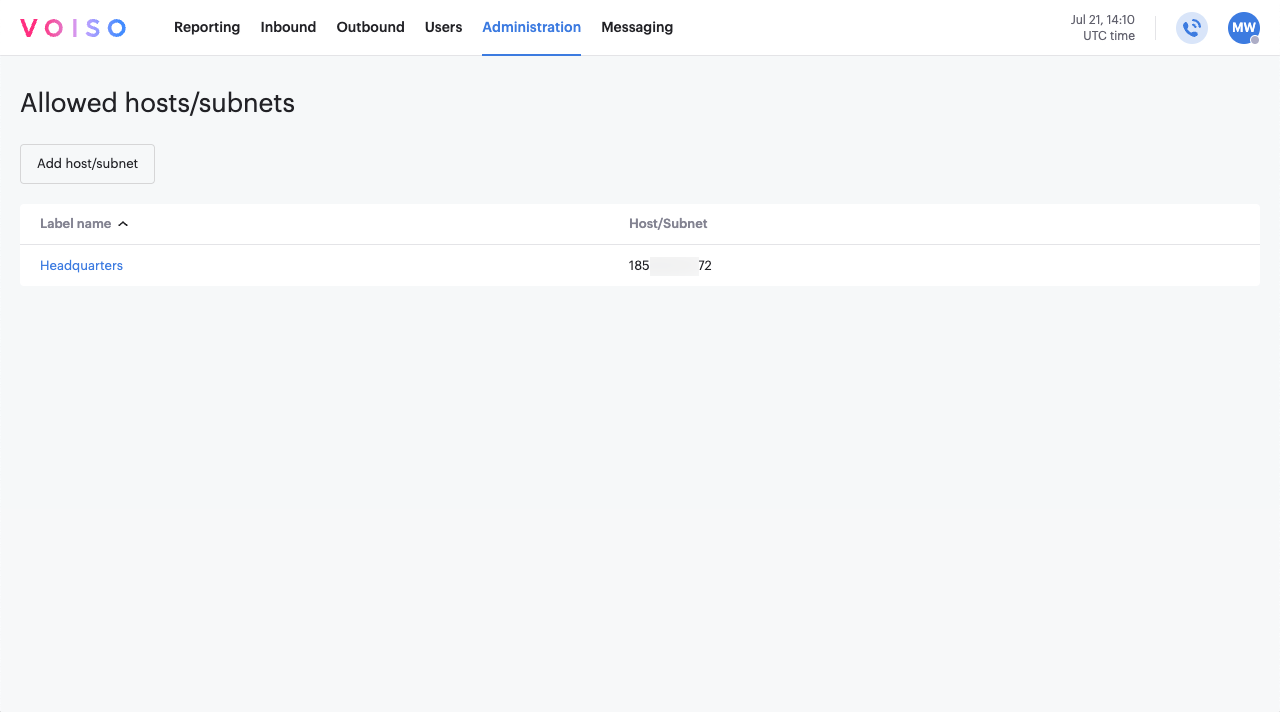
Using the Allowed hosts/subnets page
The host and subnet table in the Allowed hosts/subnets page is sortable by label or host/subnet. Click the row header to change the sorting order. To delete a host/subnet from the list, hover your mouse pointer over it, then on the far right of the table row, click the trash can icon (Delete button).
Adding a host or subnet
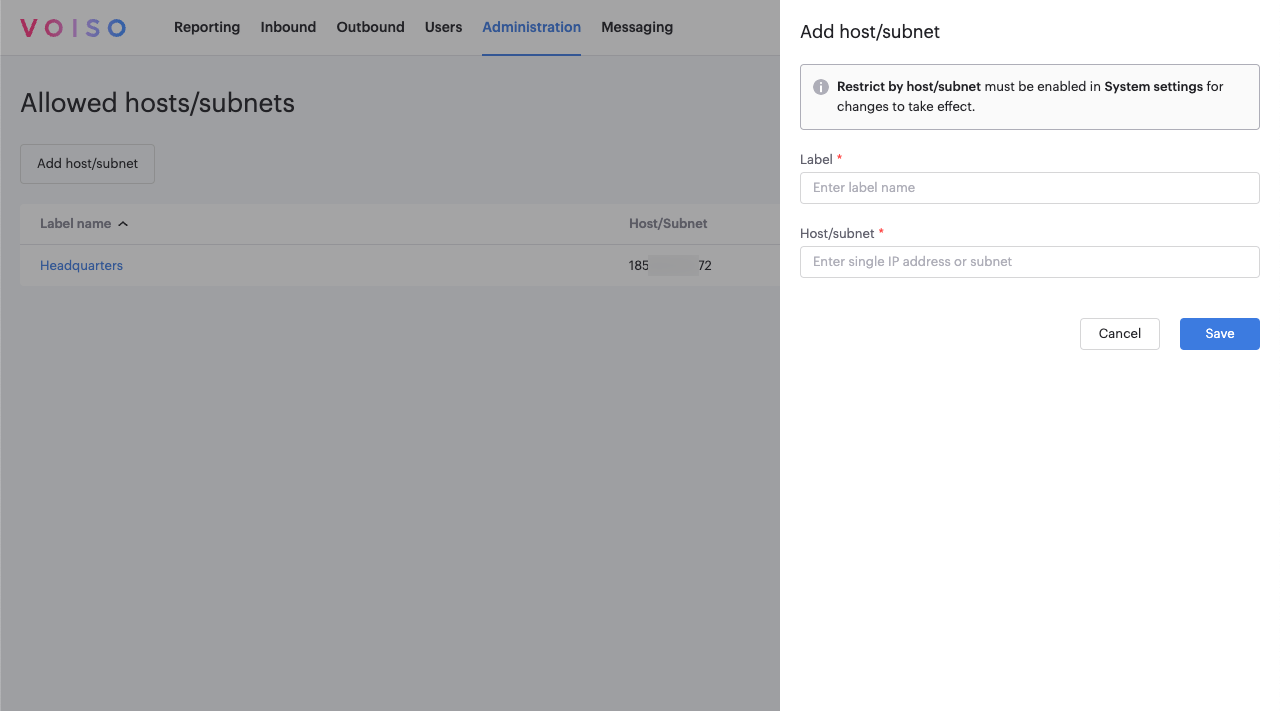
To add a new host or subnet, follow these steps:
- Click Add host/subnet.
- In the Add host/subnet panel, specify a label for the host or subnet.
- Specify the IP address of the host or subnet in the Host/subnet field.
- Click Save.
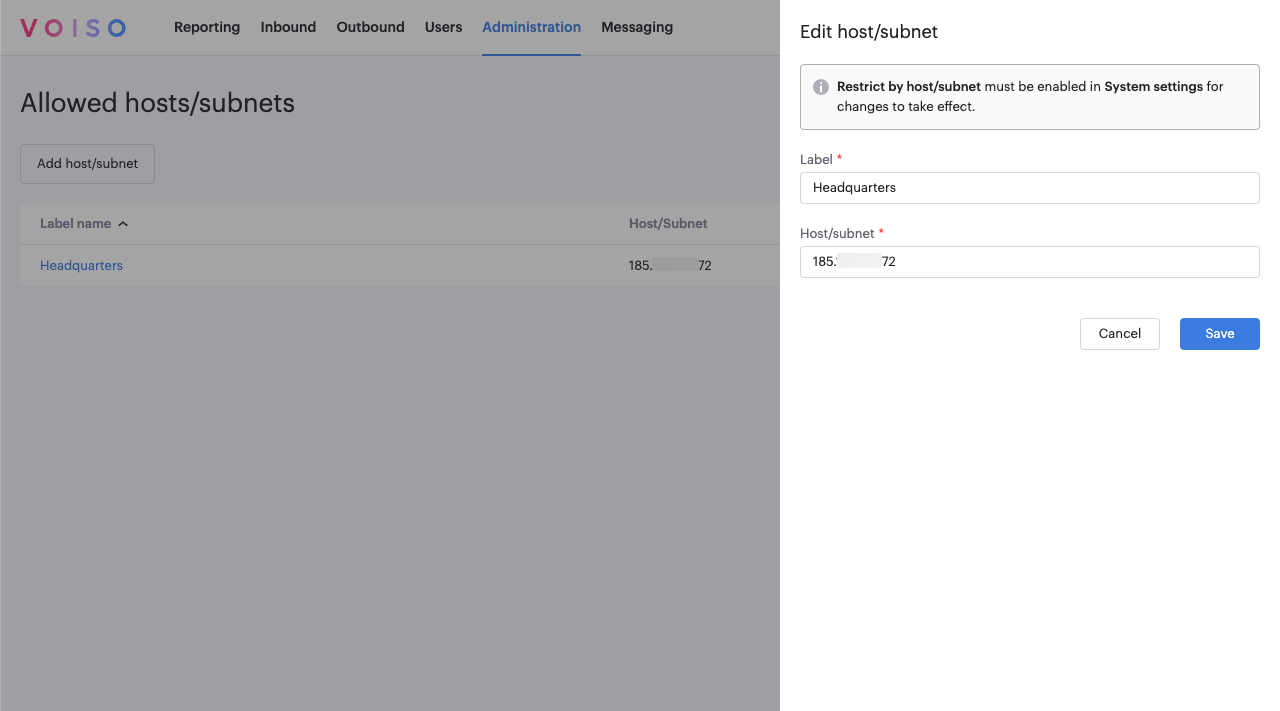
Editing a host or subnet
To edit a host or subnet, follow these steps:
- Click its name in the Allowed host/subnet page to display the Edit host/subnet panel.
- (Optional) Edit the label.
- (Optional) Edit the IP address of the host/subnet.
- Click Save to commit the change.