Who should read this article: Administrators
How to integrate Voiso with the Zoho CRM and Zoho Desk.
Introduction
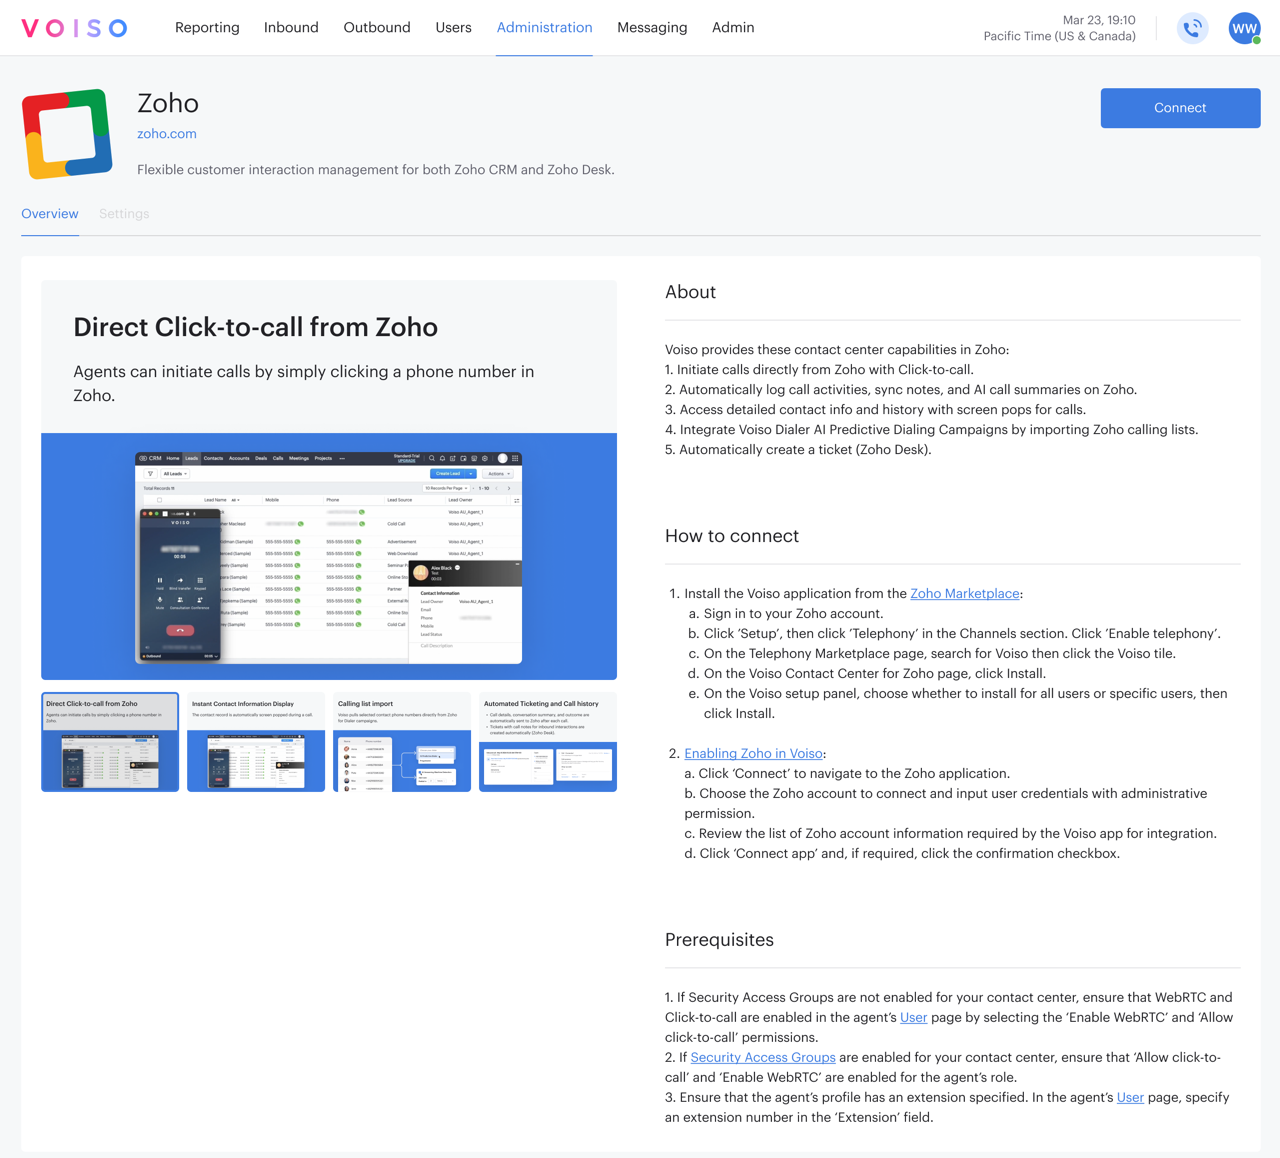
Voiso integrates with the Zoho CRM and Zoho Desk through an extension available from the Zoho Marketplace.
The link to the Voiso app on the Zoho integration page takes you to the top level of the Zoho Marketplace. To find the correct Voiso app in the marketplace, either search for Voiso Zoho CRM or Voiso Zoho Desk, or follow one of these links:
Prerequisites
Ensure you have the following prerequisites in place before you integrate Voiso with Zoho:
- Voiso accounts and Zoho accounts must use the same email address.
- To use the call recording and call wrap-up code features, configure these fields under the Calls module, then select these fields in the integration Settings tab after you complete the initial integration.
- Agent Panel must be active to make calls and select wrap-up codes.
- Configure wrap-up codes on the Wrap-up codes page.
Integration
To integrate Voiso with Zoho, navigate to Administration > Integrations, then click the Zoho tile.
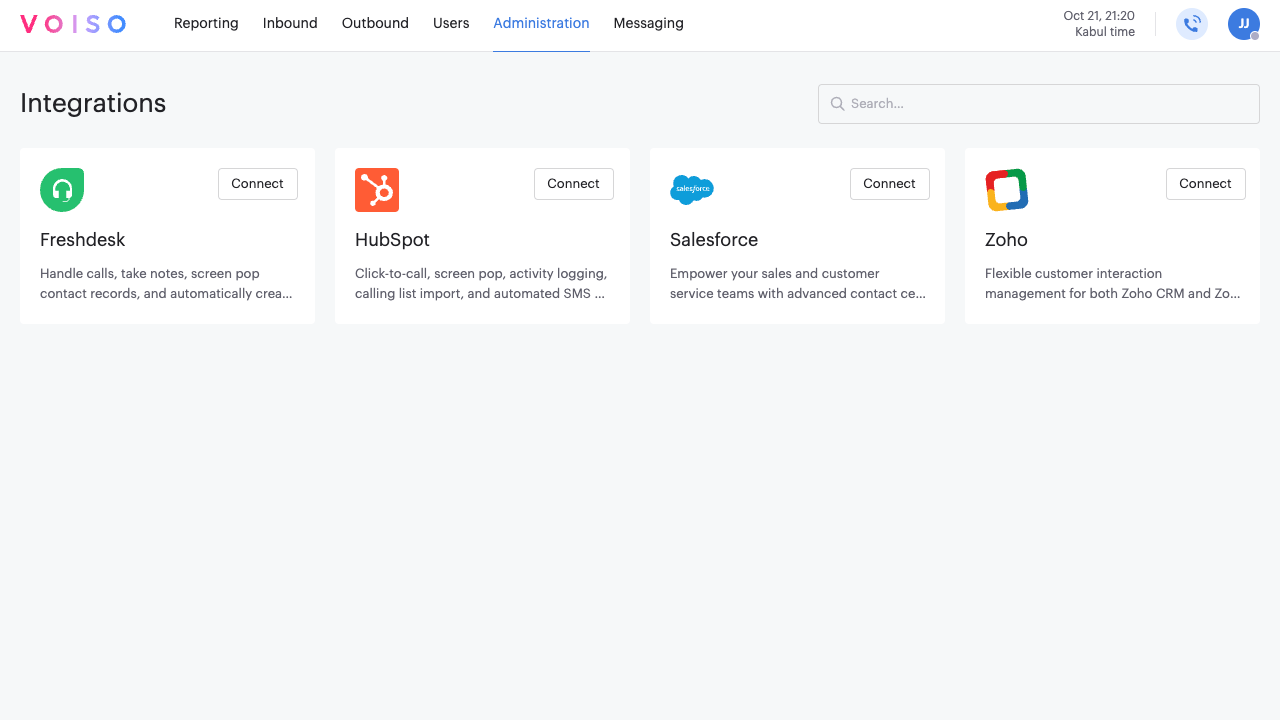
The Zoho page provides information about the Zoho integration, instructions for connecting the integration, and a list of prerequisites you should have in place before clicking Connect.
The following video walks you through the integration process.
Managing your integration
To manage an existing Zoho integration, navigate to Administration > Integrations, then click the Zoho tile.
On the Zoho integration page, you can reconnect an integration that has lost connection or disconnect a connected integration.
Click the Edit connection button and selected either Reconnect or Disconnect.
Reconnecting an integration
To reconnect an integration that has been disconnected, either manually or as the result of an error, or to modify the connection, click Edit connection, then select Reconnect.
Follow the on-screen instructions to connect your integration.
Disconnecting an integration
To disconnect an integration, click Edit connection, then select Disconnect.
In the Disconnect integration panel, click Disconnect to remove the integration from your contact center.
Settings tab
For information about Zoho CRM and Zoho Desk specific settings and features, refer to these articles: