- 29 Oct 2024
- 4 Minutes to read
- Print
- DarkLight
- PDF
Digital channels
- Updated on 29 Oct 2024
- 4 Minutes to read
- Print
- DarkLight
- PDF
Who should read this article: Administrators
You can connect, configure, and manage digital channels to your contact center to enable your agents to handled omnichannel interactions.
Introduction
The Omnichannel Workspace supports multiple digital channels in one convenient and powerful agent interface. Use the Digital channels page to view and manage the digital channels available for agents in your contact center. You can add channnels, and edit the configuration of existing channels. To associate a channel with a flow, you must first add the channel to the Digital channels page.
To access the Digital channels page, from the Voiso navigation bar, navigate to Administration > Digital channels.
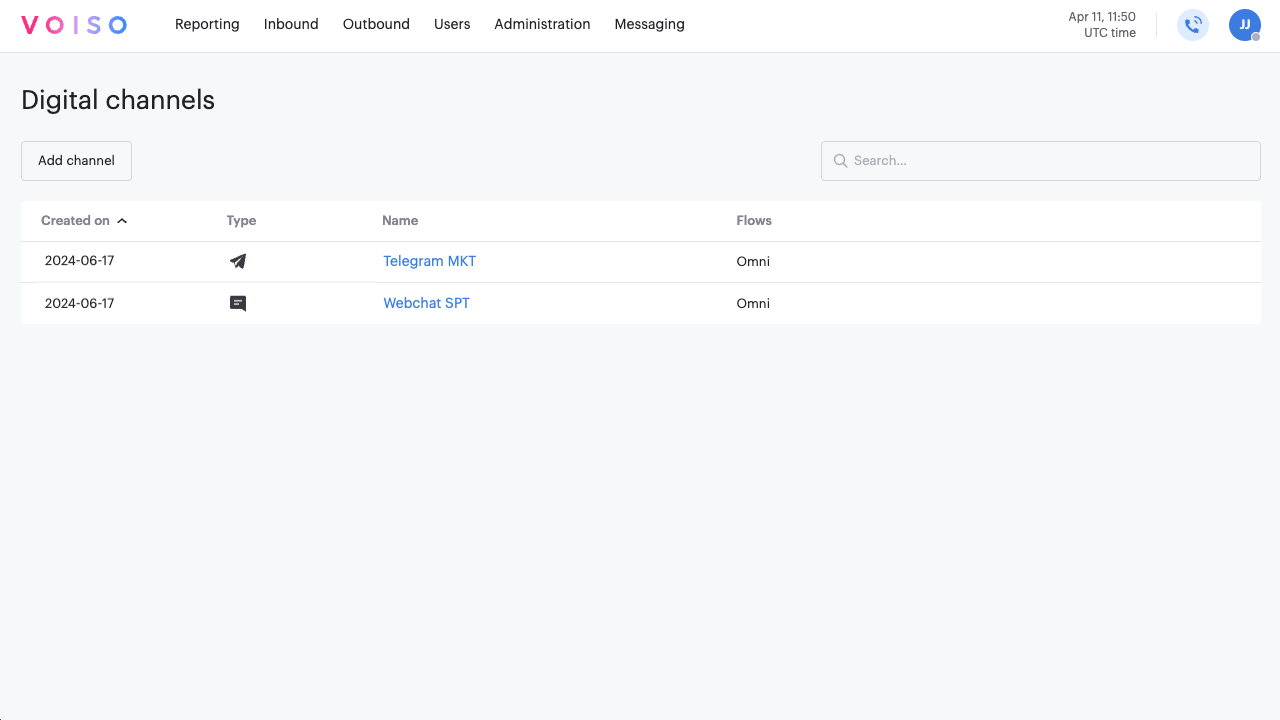
The Digital channels page contains a searchable table that lists all your digital channels. You can sort by any column.
Head | Description |
---|---|
Created on | The date that the channel was first added. |
Type | An icon representing the channel type. Refer to the table below for a key to the icons. |
Name | The name assigned to the channel. This name is used as a reference when you associate a channel to a flow or user. |
Flows | The name of one or more flows where the channel is used. |
The Type column uses the following icons to indicate the channel type:
Icon | Channel |
---|---|
Telegram | |
Webchat |
To delete one or more channels, hover your mouse pointer over the channel row, then click Delete (the trash can icon). You can also delete a channel from the Edit channel page by clicking the Delete (the trash can icon).
Channel support by plan
The following table shows you which digital channels are supported for your plan:
Channel | Startup | Pro/Pro+ |
---|---|---|
✔ | ||
✔ | ||
Telegram | ✔ | ✔ |
Viber | ✔ | |
Webchat | ✔ | ✔ |
✔ |
Adding a channel
To add a new digital channel, in the Voiso navigation bar, navigate to Administration > Digital channels, then follow these steps:
- Click Add channel to display the Add channel page.
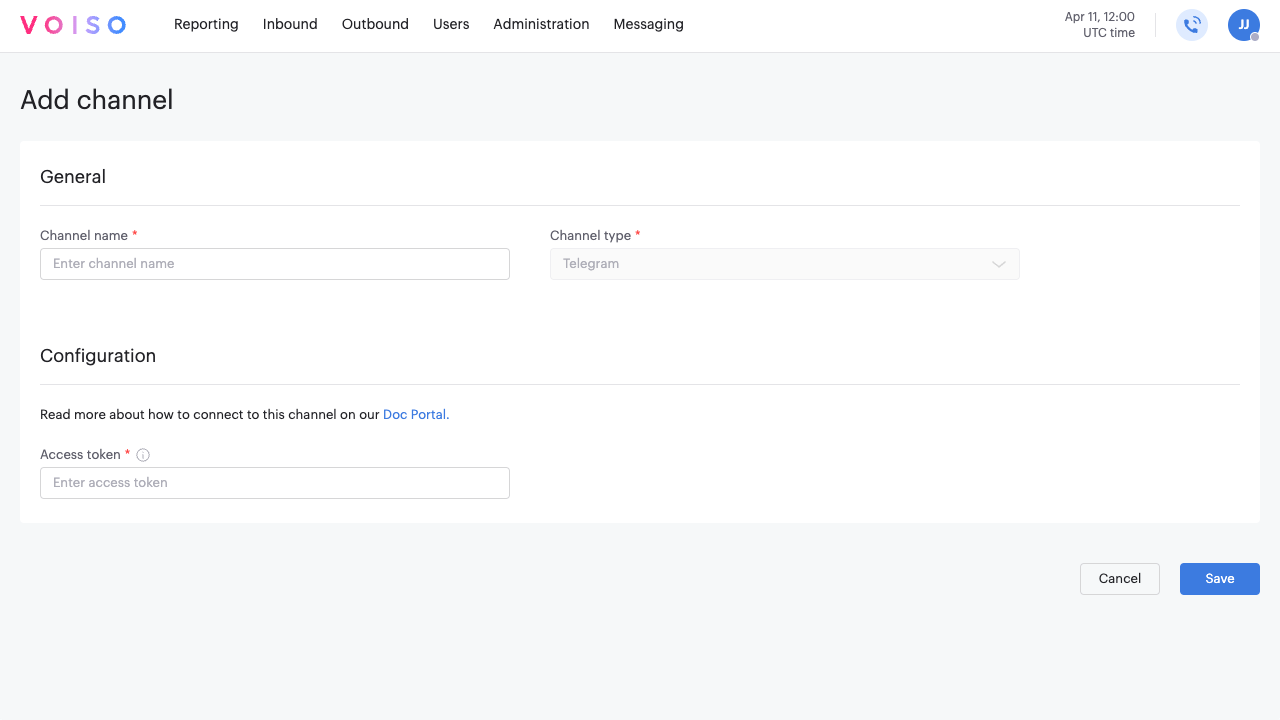
- In the General section, enter and name for the channel in the Channel name field. The name is used in other interfaces, such as Flows, Users, System settings, and Omnichannel Workspace.
- From the Channel type menu, select one of the digital channels that is enabled for your contact center.
- A channel specific configuration section is displayed to enable you to set up the channel. Refer to the subsections below for channel specific configuration information.
- Click Save to add the channel to your contact center.
Telegram configuration
The Voiso Telegram channel enables your agents to reply to messages from your contacts and engage in conversations with Telegram users.
For more information about the Telegram channel, refer to these articles:
If you selected the Telegram channel in the General section, the Configuration section is displayed. To set up the Telegram channel, enter the Telegram access token from @BotFather in the Access token field.
Webchat configuration
The Voiso Webchat channel provides a widget that you embed on your website to allow your website visitors to send Webchat interactions to your agents.
For more information about the Webchat channel, refer to these articles:
- Webchat (for administrators)
- Webchat interactions (for agents and supervisors)
To set up the Webchat channel widget and get JavaScript code that you embed in your website, follow these steps:
- In the Channel name field, enter a name for your channel.
- Select the Webchat channel type to display the Configuration section.
- In the Heading field, enter the name that appears at the top of the widget.
- From the Color menu, select the color of the agent messages displayed to your website visitors. You can preview the widget in the Preview area.
- When you are satisfied with the appearance of the widget, click Generate code to display JavaScript code that you can copy and add to your website.
- To generate a link to preview your widget, click Regenerate code (1). In the Preview your widget link field (2), click the Copy button, then paste the URL into a new browser tab or window. In the Code to include field (3), click the Copy button to copy the JavaScript code you embed in your website to activate the widget.
- If you make changes to the configuration, click Regenerate code to update the preview and code.
- Click Save to add the new channel to your contact center.
You can adjust the dimensions of the widget by editing the JS code. The default height and width are 600px by 320px. The width can be set to any value between 320px and 768px, and the height can be set to any value between 600px and 800px.
Webchat widget preview
When you configure the Webchat channel, you can preview how the widget will look on a website using the preview URL in the Preview your widget field of the Configuration section.
Any time you modify the widget configuration, click Regenerate code to get the latest preview URL and embeddable code.
Paste the URL into a new browser tab or window to display the preview page.
Try out the widget by clicking the Chat icon on the lower right corner of the browser window.
The Webchat widget on mobile phones
The widget appearance you specified when you added it automatically adjusts to fit the entire screen of the mobile phone being used. Fonts and attachment previews are also optimized for mobile displays, so they may appear slightly different from how they look on a desktop browser.
Emojis are managed directly through the mobile device's keyboard, so your contacts will only see the Attach and Send buttons. The Send button becomes highlighted when your contact starts typing in the message field.
Editing a channel
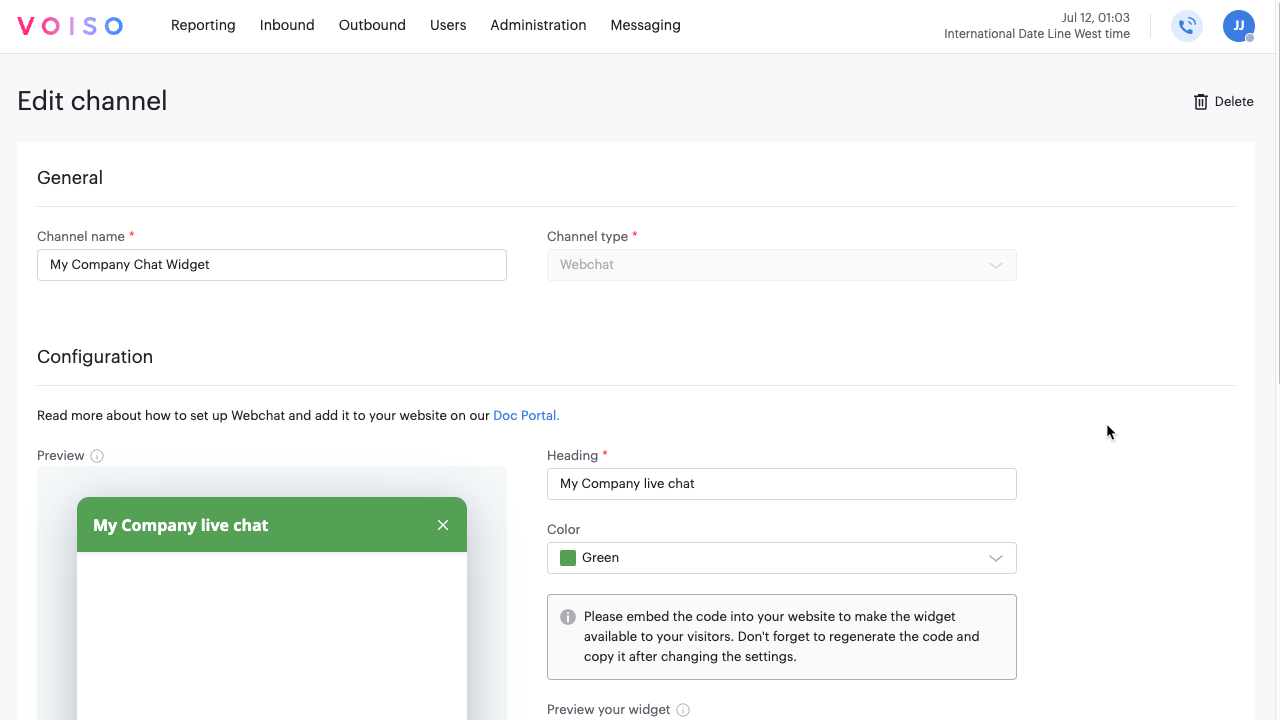
To edit the configuration of a channel that has already been added to the Digital channels page, click the name of the channel in the table to display the Edit channel page.
Make updates to the configuration then click Save to commit the changes.