Who should read this article: Administrators
Key prerequisites to prepare your contact center before you create a chatbot.
This is part 3 of the Build your own chatbot use case.
Contact center prerequisites
To create an inbound digital interaction flow, you first need to set up your contact center, including creating digital channels, setting up agents to handle interactions handed off by the chatbot, and preparing your backend data service.
1. Create a digital channel
The Omnichannel Workspace supports the following channels:
| Icon | Channel |
|---|---|
| Voice | |
| SMS | |
| Webchat | |
| Telegram | |
| Viber | |
| Facebook Messenger | |
Follow the directions in the articles linked above to set up your digital channels.
2. Enable users for Omnichannel Workspace
-
If your contact center users Basic user roles, on the user configuration page, assign the Omnichannel Workspace Enabled permission.
-
If your contact center uses Security Access Groups, enable the following permissions in the access group assigned to users who will receive interactions that are not handled by the chatbot:
- Access to Web interface (optional)
- Omnichannel Workspace Enabled
- View Call History
3. Prepare your users
To grant access to digital channels, assign the channels to users on the user configuration page. Click Manage in the Assigned channels section, then select one or more digital channels.
Remember to set the user's message handling capacity and, if the user is assigned to the WhatsApp channel, ensure that you also assign a WhatsApp outbound profile.
4. Set up your data service
Voiso digital interaction flows use RESTful API requests to GET and POST data to web services, helpdesk platforms, CRMs, and other API-based integrations, such as Make, Zapier, and Google Docs.
Contact and account information, transaction data, and inventory details can be securely stored in your web service and readily accessed through your interaction flow.
Prepare your data service so that common information is available for the Flow Builder HTTP request node to retrieve or update data.
5. Create a Flow
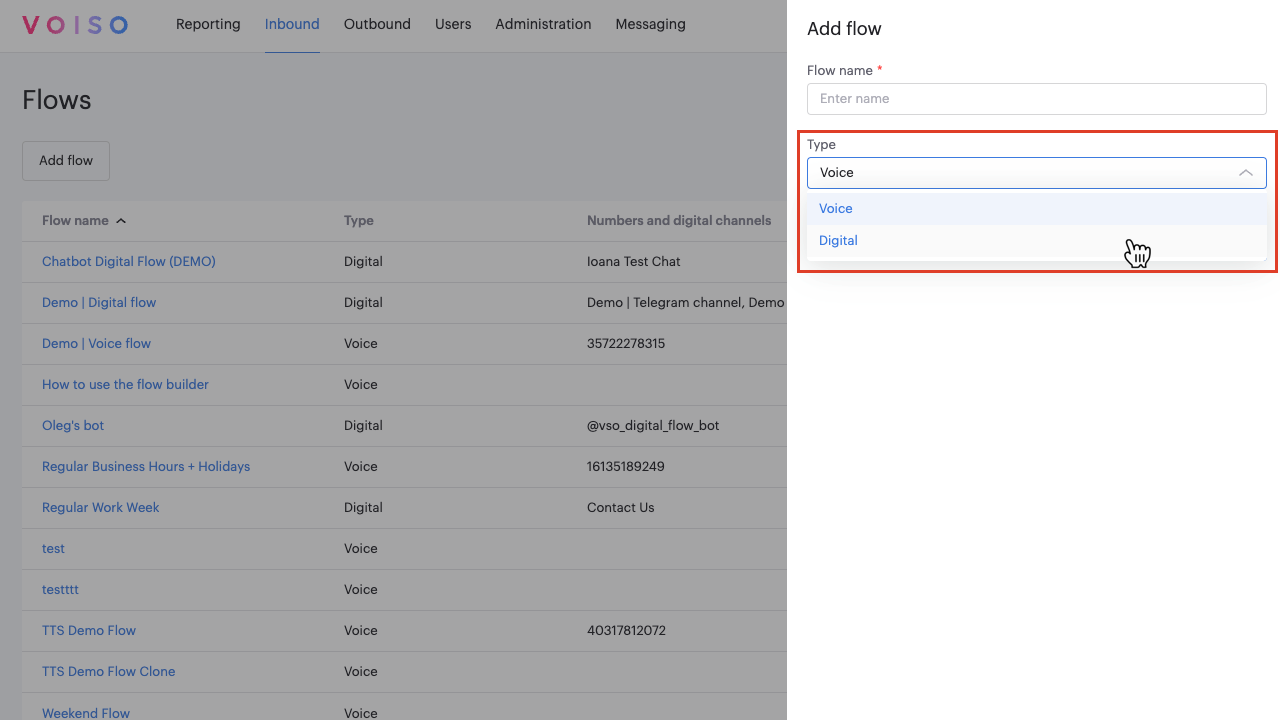
To create an inbound digital interaction flow, navigate to Inbound > Flows, then click Add flow. Choose Digital from the Type menu. Refer to Flows for information about setting up the interaction flow.
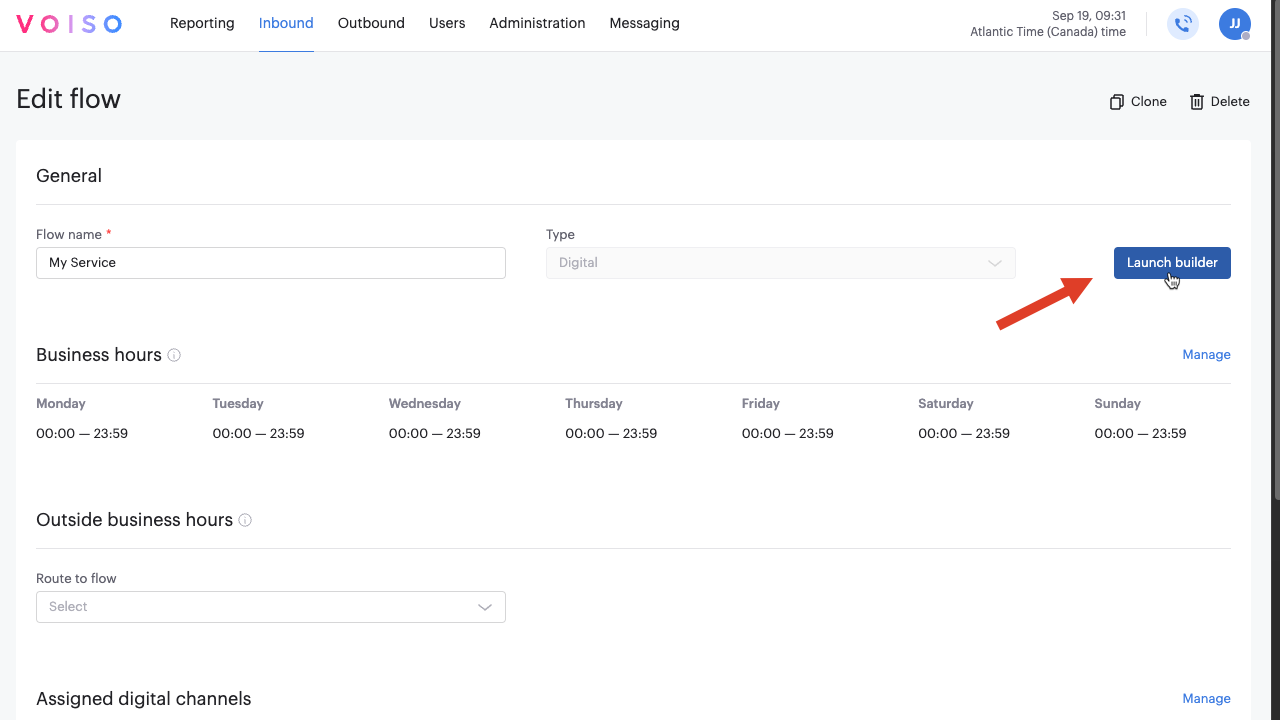
In the Assigned digital channels section, click Manage, then select one or more inbound digital channels.
Once your flow is set up you are ready to use the Flow Builder visual flow building canvas to create your chatbot. Click Launch builder.
6. Test your flow
The following video walks you through the steps you can use to test that your chatbot is working.
The video covers these basic steps:
- Add a digital channel., such as Webchat, to your contact center.
- Create a test inbound digital flow and add your channel to it.
- Launch Flow Builder to design your flow on the visual canvas.
- Send a test message from your digital channel and receive an automated response from the chatbot.
- View the interaction in the Agent Omnichannel Workspace.