Who should read this article: Administrators
You can connect, configure, and manage digital channels to your contact center to enable your agents to handled omnichannel interactions.
The availability of different digital channels for contact centers is dependent on your contact center plan.
Introduction
The Omnichannel Workspace supports multiple digital channels in one convenient and powerful agent interface. Use the Digital channels page to view and manage the digital channels available for agents in your contact center. You can add channnels, and edit the configuration of existing channels. To associate a channel with a flow, you must first add the channel to the Digital channels page.
To access the Digital channels page, from the Voiso navigation bar, navigate to Administration > Digital channels.
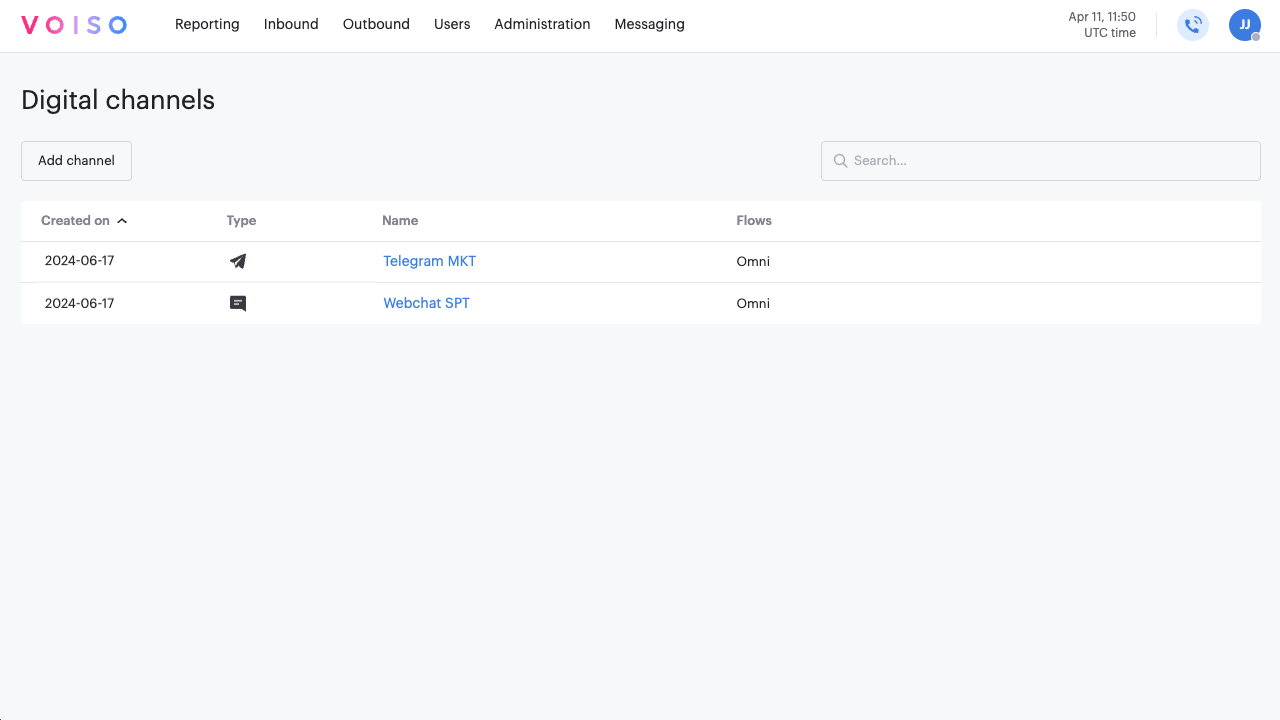
The Digital channels page contains a searchable table that lists all your digital channels. You can sort by any column.
| Head | Description |
|---|---|
| Created on | The date that the channel was first added. |
| Type | An icon representing the channel type. Refer to the table below for a key to the icons. |
| Name | The name assigned to the channel. This name is used as a reference when you associate a channel to a flow or user. |
| Flows | The name of one or more flows where the channel is used. |
Click an assigned flow to link to the corresponding Edit flow page in your contact center.
The Type column uses the following icons to indicate the channel type:
| Icon | Channel |
|---|---|
 |
Telegram |
 |
Webchat |
 |
|
 |
Viber |
To delete one or more channels, hover your mouse pointer over the channel row, then click Delete (the trash can icon). You can also delete a channel from the Edit channel page by clicking the Delete (the trash can icon).
Channel support by plan
The following table shows you which digital channels are supported for your plan:
| Channel | Core | Pro/Custom |
|---|---|---|
| ✔ | ||
| ✔ | ||
| Telegram | ✔ | |
| Viber | ✔ | |
| Webchat | ✔ | ✔ |
| ✔ |
Adding a channel
To add a new digital channel, in the Voiso navigation bar, navigate to Administration > Digital channels, then follow these steps:
- Click Add channel to display the Add channel page.
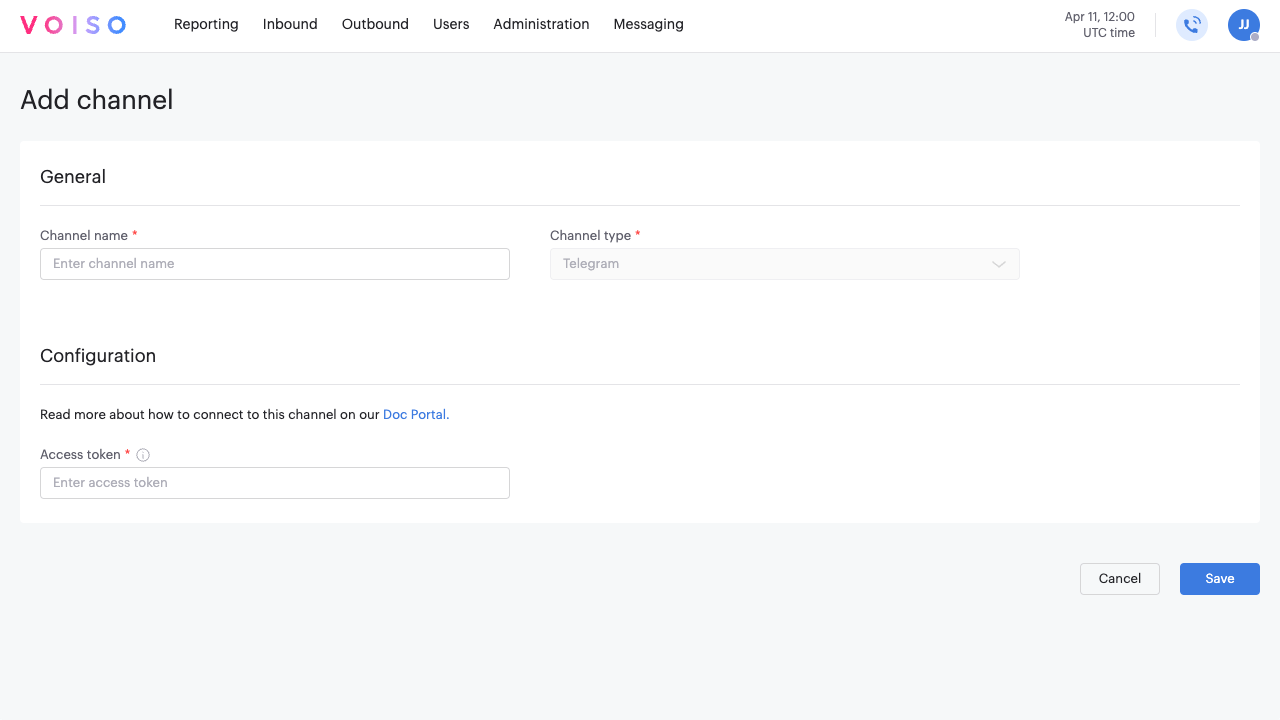
- In the General section, enter and name for the channel in the Channel name field. The name is used in other interfaces, such as Flows, Users, System settings, and Omnichannel Workspace.
- From the Channel type menu, select one of the digital channels that is enabled for your contact center.
- A channel specific configuration section is displayed to enable you to set up the channel. Refer to the articles below for channel specific configuration information:
- Click Save to add the channel to your contact center.
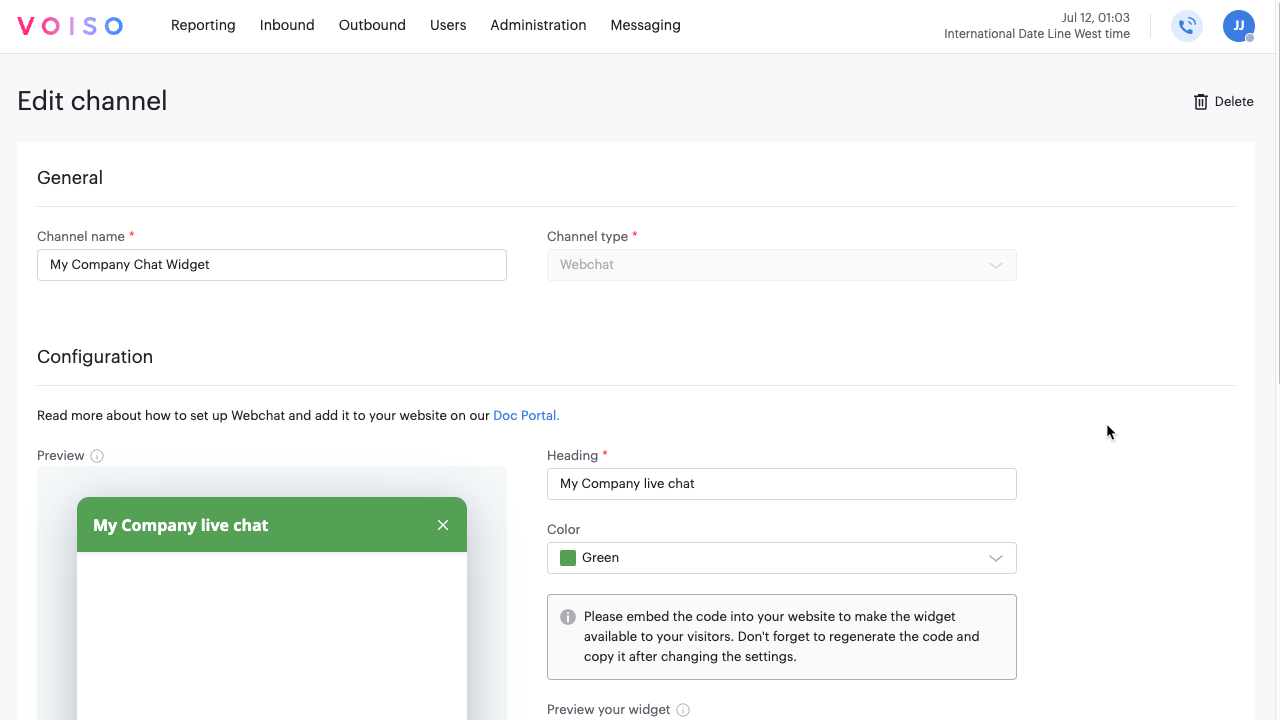
Editing a channel
To edit the configuration of a channel that has already been added to the Digital channels page, click the name of the channel in the table to display the Edit channel page.
Make updates to the configuration then click Save to commit the changes.