Who should read this article: Administrators
Manage the list of trusted IP addresses and subnets that are allowed to send inbound SIP calls to your contact center.
Introduction
To help protect your contact center from unauthorized inbound SIP traffic, Voiso allows you to define a list of approved voice trunk host and subnet IP addresses.
When no entries are configured in Allowed voice trunk IPs, inbound SIP calls are accepted from any source IP address.
When one or more entries are configured, Voiso checks the source IP address of each inbound SIP call against the allowed list. Calls from matching IP addresses or subnets are accepted and routed normally. Calls from all other source IP addresses are rejected.
Enabling the Allowed voice trunk IP feature
Contact your Voiso representative to enable the Allowed voice trunk IPs feature. Once enabled, in contact centers that do not use Security Access Groups, any user with the Admin role assigned may use this feature. In contact centers that use Security Access Groups, grant the Edit Allowed inbound voice trunk IPs privilege for the user's assigned access group.
Using the Allowed voice trunk IPs page
The Allowed voice trunk IPs page displays the list of configured voice trunk hosts and subnets for your contact center.
The table includes the following columns:
- Label name
- IP adress
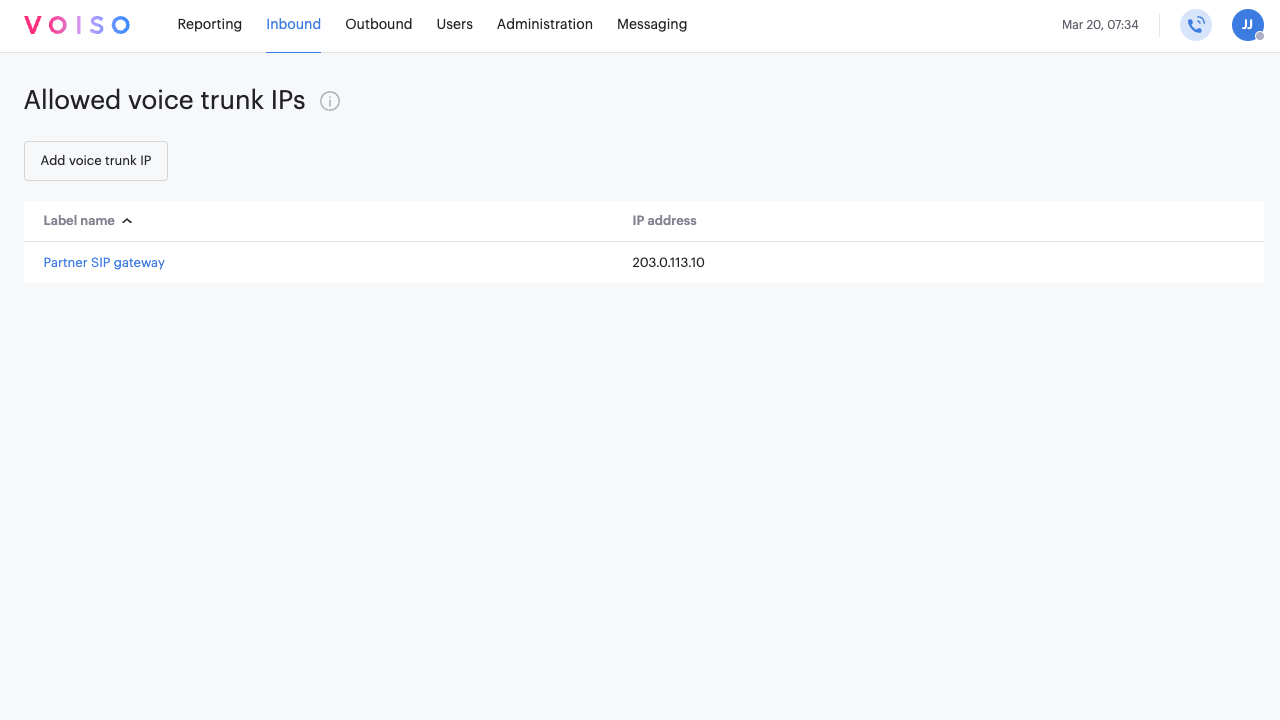
You can sort the table by Label name. To delete an entry from the list, click the delete icon on its row, then confirm the deletion.
If no entries have been added yet, the page displays the following message:
You do not have any allowed voice trunk IPs yet. All voice trunk IPs are currently allowed. To add an allowed IP, click 'Add voice trunk IP'.
Adding an allowed voice trunk IP
To add a new allowed voice trunk IP or subnet, follow these steps:
- In Voiso, go to Inbound and select Allowed voice trunk IPs.
- Click Add voice trunk IP.
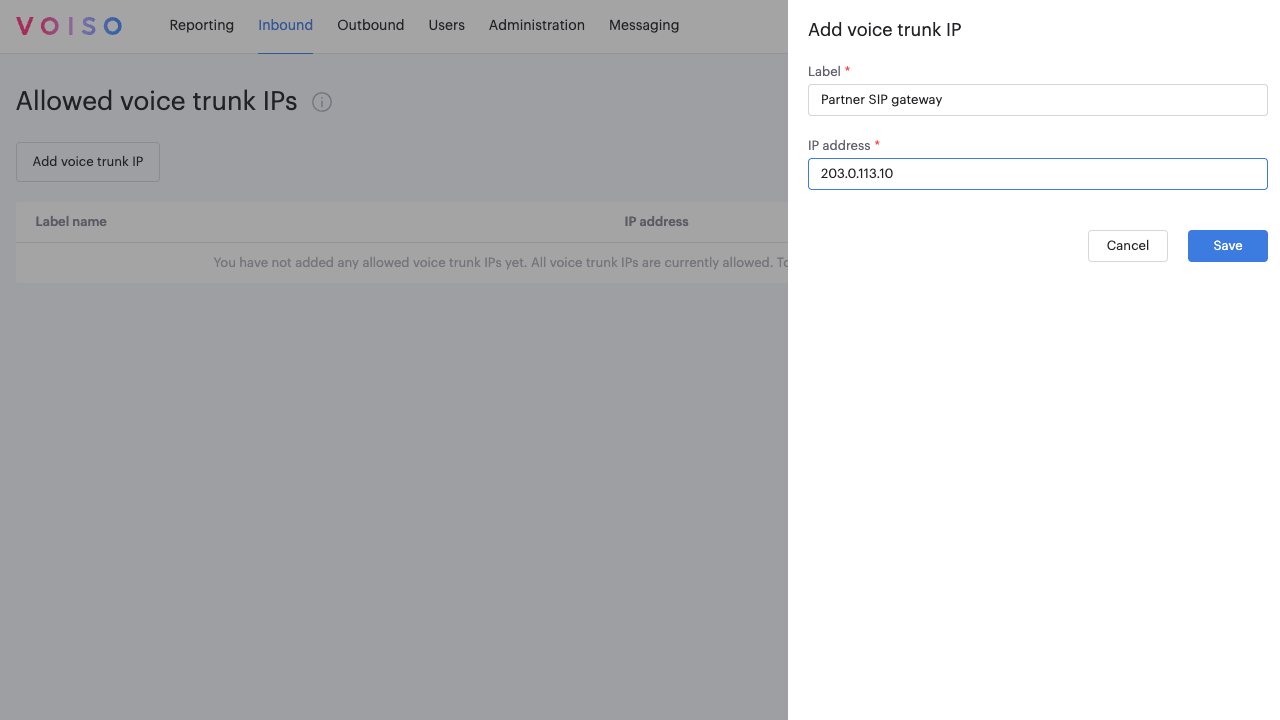
- In the panel, enter a label in the Label field.
- In the IP address field, enter a single IPv4 address or a subnet in Classless Inter Domain Routing notation. For example:
192.168.1.0/24. - Click Save.
The new entry is added to the table and becomes active after it syncs to the cluster.
Editing an allowed voice trunk IP address
To edit an allowed voice trunk IP address, follow these steps:
- Click its name in the Allowed voice trunk IP address page to display the Edit voice trunk IP panel.
- (Optional) Edit the label.
- (Optional) Edit the IP address of the voice trunk.
- Click Save to commit the change.
Deleting an allowed voice trunk IP
To remove an allowed voice trunk IP or subnet, follow these steps:
- In Voiso, go to Inbound and select Allowed voice trunk IPs.
- Find the entry you want to remove.
- Click the delete icon on that row.
- In the confirmation dialog, confirm the deletion.
The entry is removed from the list.