Who should read this article: Administrators
The Voiso Media feature enables you to maintain a library of music, voice messages, and ringtones for your contact center.
Introduction
The Media page lets you create and manage a library of audio files for hold music, voice messages, and ringtones used across different channels in your contact center.
To access the Media page, go to Administration > Media from the Voiso navigation bar.
The page displays a table listing all the audio files you’ve uploaded to your Voiso media library.
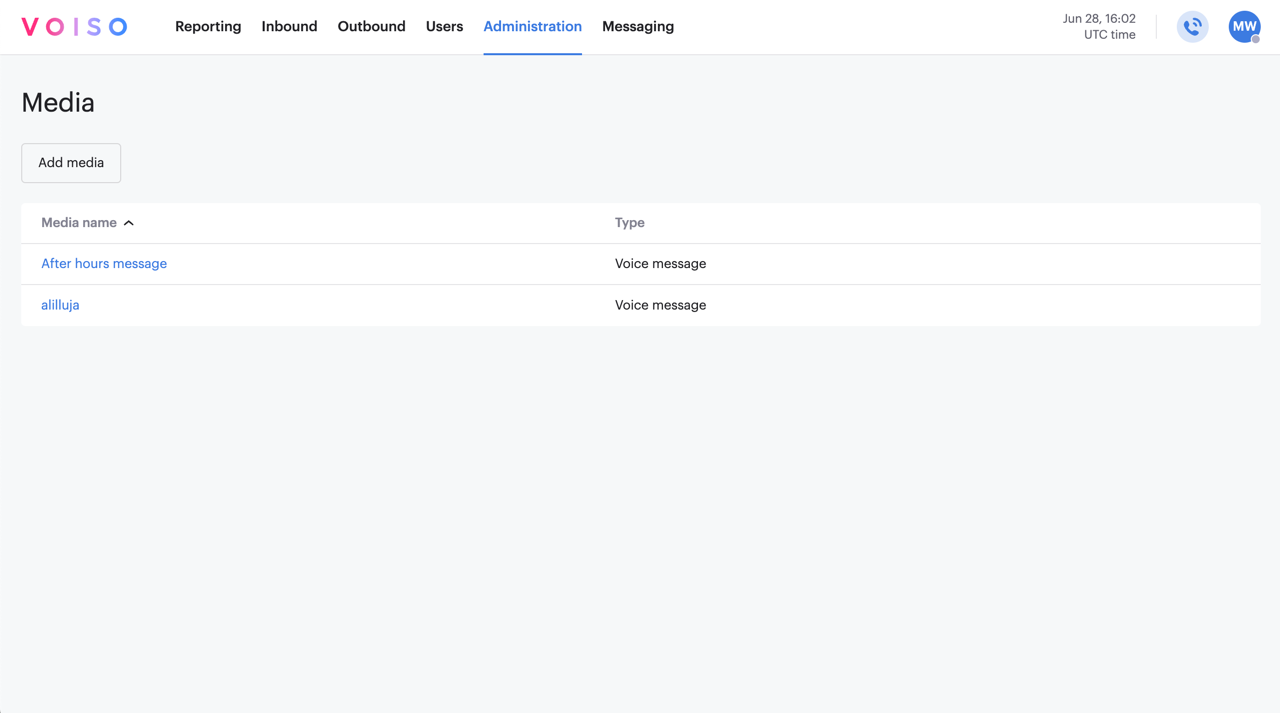
Audio files are classified by the following types:
| Type | Description |
|---|---|
| MOH | Music on hold. Played to callers when a call is placed on hold by an agent or system. You can assign different MOH files to Dialer campaigns, Queues and flows. |
| Voice Message | Used for announcements, menu options, or in-queue messages. Assign different voice messages to Queues, flows, Dialer campaigns, or Call suppression. |
| Ringtone | Used for WebRTC Ringtone calls in the Agent Panel and notifications in the Omnichannel Workspace. |
Refer to Media files in the Supported File Formats article for information about what audio file formats are supported for audio media.
Using the Media page
The table on the Media page can be sorted by Name or Type. Click the column header to change the sort order.
- To preview an audio file, click the Play button next to the file name.
- To delete an audio file, hover over the row and click the Delete icon at the far right.
- To download an audio file, hover over the row and click the Download audio icon at the far right.
Adding media
Adding media
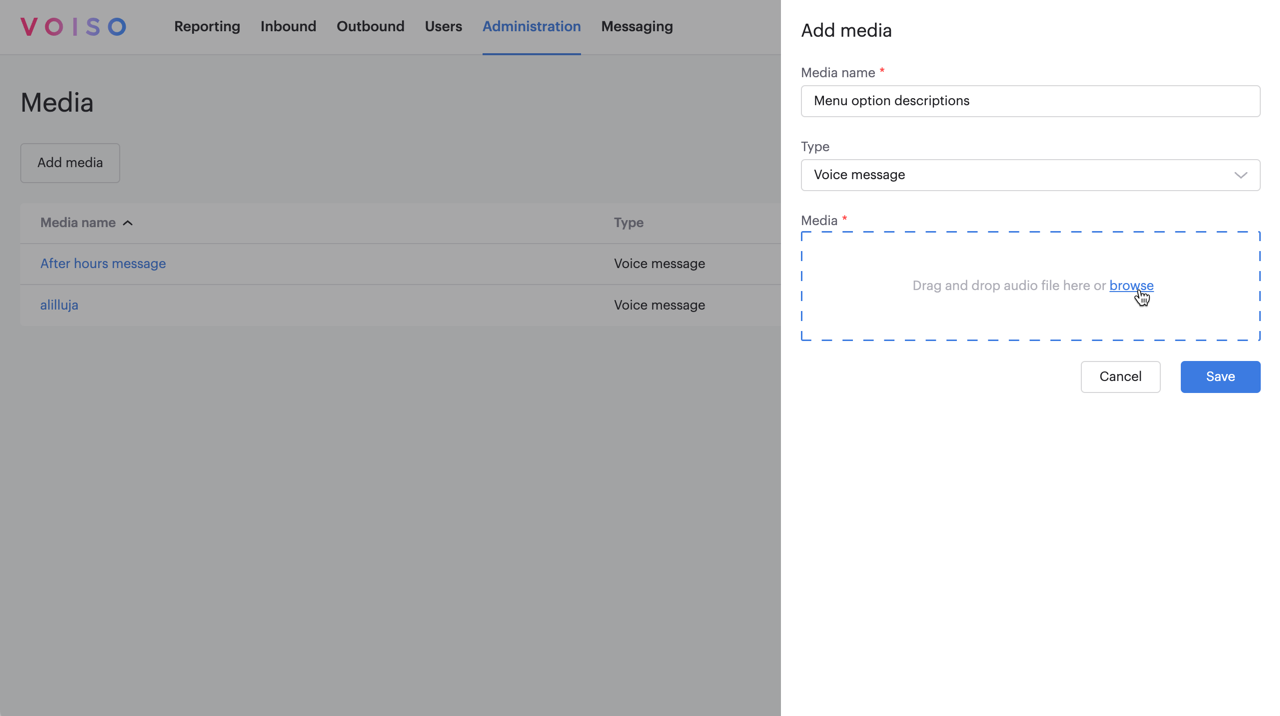
To upload a new audio file to your media library, follow these steps:
- Click Add media.
- In the Add media panel, enter a name for the file. This name appears in the Media table and in selection menus throughout the application.
- From the Type dropdown, select the media type that matches how the audio will be used (e.g., MOH, Voice Message, or Ringtone).
- In the Media section, either drag and drop an audio file from your computer or click browse to select a file.
- Click Save to upload the file.
For supported audio formats and file size limits, refer to Supported file formats.
Editing media
To update the audio file or name of an existing media file:
- In the Media table, click the media name to open the Edit media panel.
- (Optional) Edit the media name.
- Click X to remove the existing audio file and upload a new one.
- Click Save.

The media type cannot be changed.